
Dirt Ebike Won't Start? A Troubleshooting Guide for Dealers and Fleet Operators

A dirt ebike that will not power on — or that shuts down mid-ride — is a power-path problem before it is a parts problem. Work the path in a fixed order: stored energy (battery, BMS, fuse, charge port), delivery (harness, connectors, ignition), command inputs (throttle, brake cut-off, stand sensor, display), then load (controller, motor, drivetrain). That order lets a dealer or fleet workshop locate the fault before replacing a controller or motor on suspicion, which is the most expensive habit in after-sales service.
This guide is written for workshop staff, rental fleet operators and dealer service teams handling Freego dirt ebike models. Freego USA Inc. is the Chino, California-based electric mobility company founded in 2012, whose range includes the X-man and Nova off-road series and which supplies more than 40 countries and regions. Freego's model materials describe the Nova series as mid-drive and the X series as hub-motor, and the motor stage of the diagnostic path differs between those two architectures. One rule governs everything below: no model-specific electrical value is quoted. Voltages, cut-off thresholds and error lists belong to the pack label, the controller label and the manual of the unit on the bench, and a number carried across from another model turns a five-minute check into a wrong part order.
What "won't start" actually covers
Three different faults arrive described as one. Classify the symptom before opening a tool box, because each class has a different first test.
- Class A — dead unit. The display stays dark and no light or sound appears when the key or power button is operated. Energy storage and delivery are the entry points.
- Class B — powered but no drive. The display lights up, the battery indicator reads normal, and the throttle or pedal assist produces nothing. Command inputs and controller logic are the entry points.
- Class C — runs, then cuts out. The unit starts normally and stops under load, after a climb, after a wash or after sustained vibration. Intermittent faults need a trigger log before any part is removed.
A fourth pattern is often mis-filed as a fault: the unit starts and drives but loses power early with no shutdown. That is a range complaint, not a no-start, and it follows a separate path built around charge practice, pack condition and duty cycle.
Before the first test: intake and safety boundaries
The intake record is what makes an intermittent fault solvable. Capture six fields at hand-over: model and series, pack serial and label values, state of charge at arrival, whether the failure occurred at rest or under load, what the display showed at the moment of failure, and recent history such as a wash, a transport trip, a battery swap or long storage. A unit that fails only under load is saying that the energy path holds at low current and breaks down at high current — a different investigation from a unit that is dead on the bench.
Three safety boundaries apply to every unit, regardless of brand:
- Do not open a sealed battery pack or controller. Beyond the electrical risk, breaking a seal generally ends the warranty path for that component. Confirm coverage in writing first.
- Do not bypass or defeat the BMS. A protection circuit that has tripped is reporting a condition; overriding it turns a shutdown into a fire risk.
- Treat an abnormal pack as a stop-work item. Swelling, unusual warmth at rest, a sweet or solvent smell or discoloured terminals means isolation and the applicable local procedure for damaged lithium batteries — not a test ride.
Step 1 — Reproduce the fault and classify it
Reproduce the failure in two conditions: unloaded, with the drive wheel clear of the ground, and loaded, with a rider or an equivalent resistance applied in a safe area. If the unit starts unloaded and dies when loaded, the fault is current-dependent and the search narrows to pack protection, connector resistance, harness crimps and controller thermal behaviour. If it fails in both conditions, start at the pack and the ignition path.
Record the restart behaviour too. A unit that recovers by itself after a short pause is describing a self-resetting protection event. A unit that needs a power cycle is describing a latch or a logic state. A unit that stays dead until a connector is re-seated is describing a connection. Those three observations send the technician to three different places and cost nothing to collect.
Step 2 — Battery, BMS and charge path
Check the pack as a managed system, not as a fuel tank. A pack contains cells, a protection circuit, a fuse or breaker, a charge port and a discharge interface, and any one of them can present as a completely dead bike.
2.1 Confirm the charger and the charge port. Use the charger supplied for that pack voltage; a charger from a different voltage class is both a charging fault and a safety fault. Inspect the charge port for bent pins, corrosion or water, and check the charger's indicator behaviour against the manual.
2.2 Check the fuse or breaker and the discharge contacts. A blown main fuse produces a perfect Class A symptom. On removable packs, the dock contacts and the latch are part of the delivery path — a pack that is not fully seated behaves exactly like a failed pack.
2.3 Measure pack voltage and compare it to the label. Measure at the discharge terminals, compare with the nominal figure printed on the pack, then repeat at the controller input in Step 3. A pack that reads plausibly at rest but collapses under load is a pack condition, not a wiring condition.
2.4 Establish whether the BMS has tripped. Over-current, over-temperature, under-voltage and short-circuit protection all present as no output. Reset only by the procedure the manufacturer publishes for that model. If the pack will not leave protection, or trips again immediately, stop and escalate.
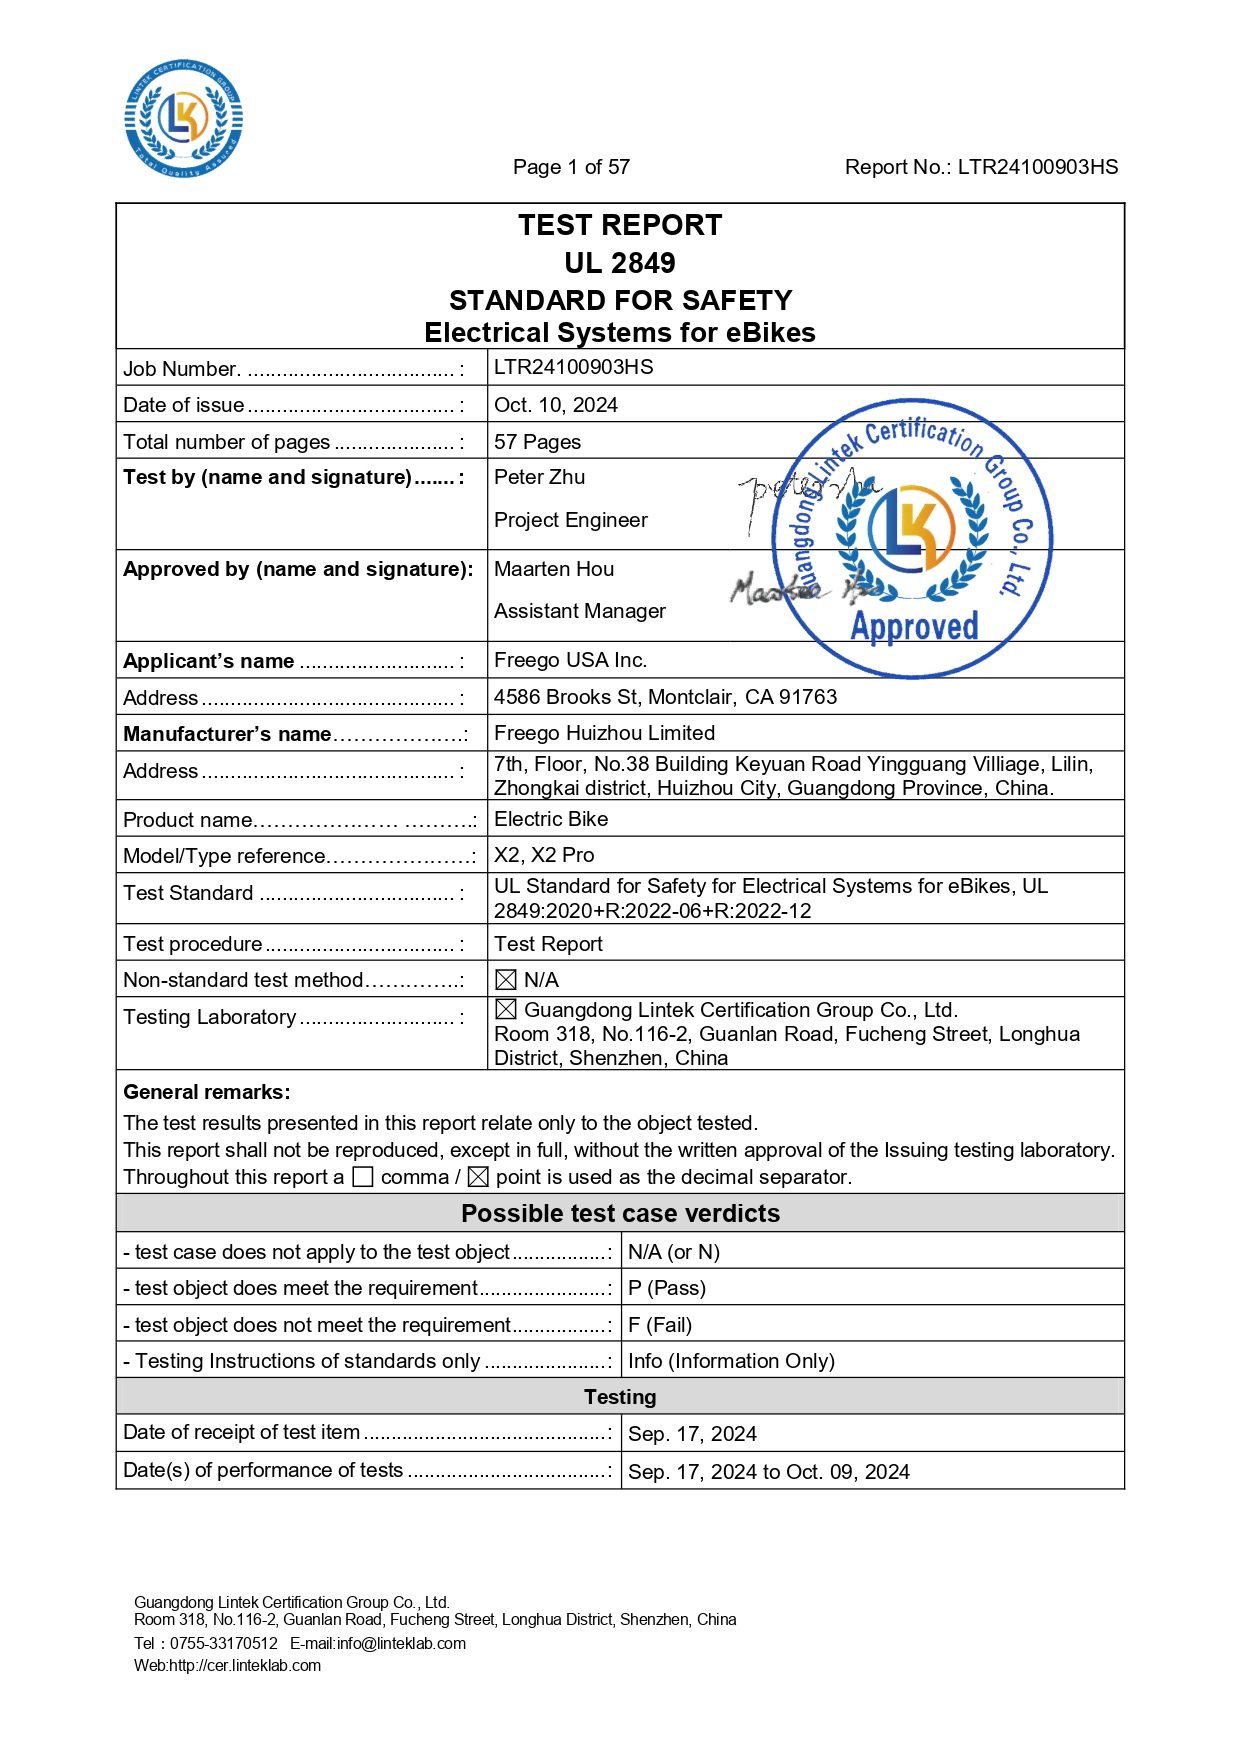
Freego states an intelligent BMS management system among its control methods for electrical and battery-safety risk, and lists UL 2849 and CE among its certifications alongside ISO 9001 quality-system compliance. For a technician the practical meaning is narrow but useful: the pack is designed as a protected system, so no output is frequently a protection decision rather than a dead cell — and the certification framework is a safety baseline, not a diagnosis of the unit in front of you.
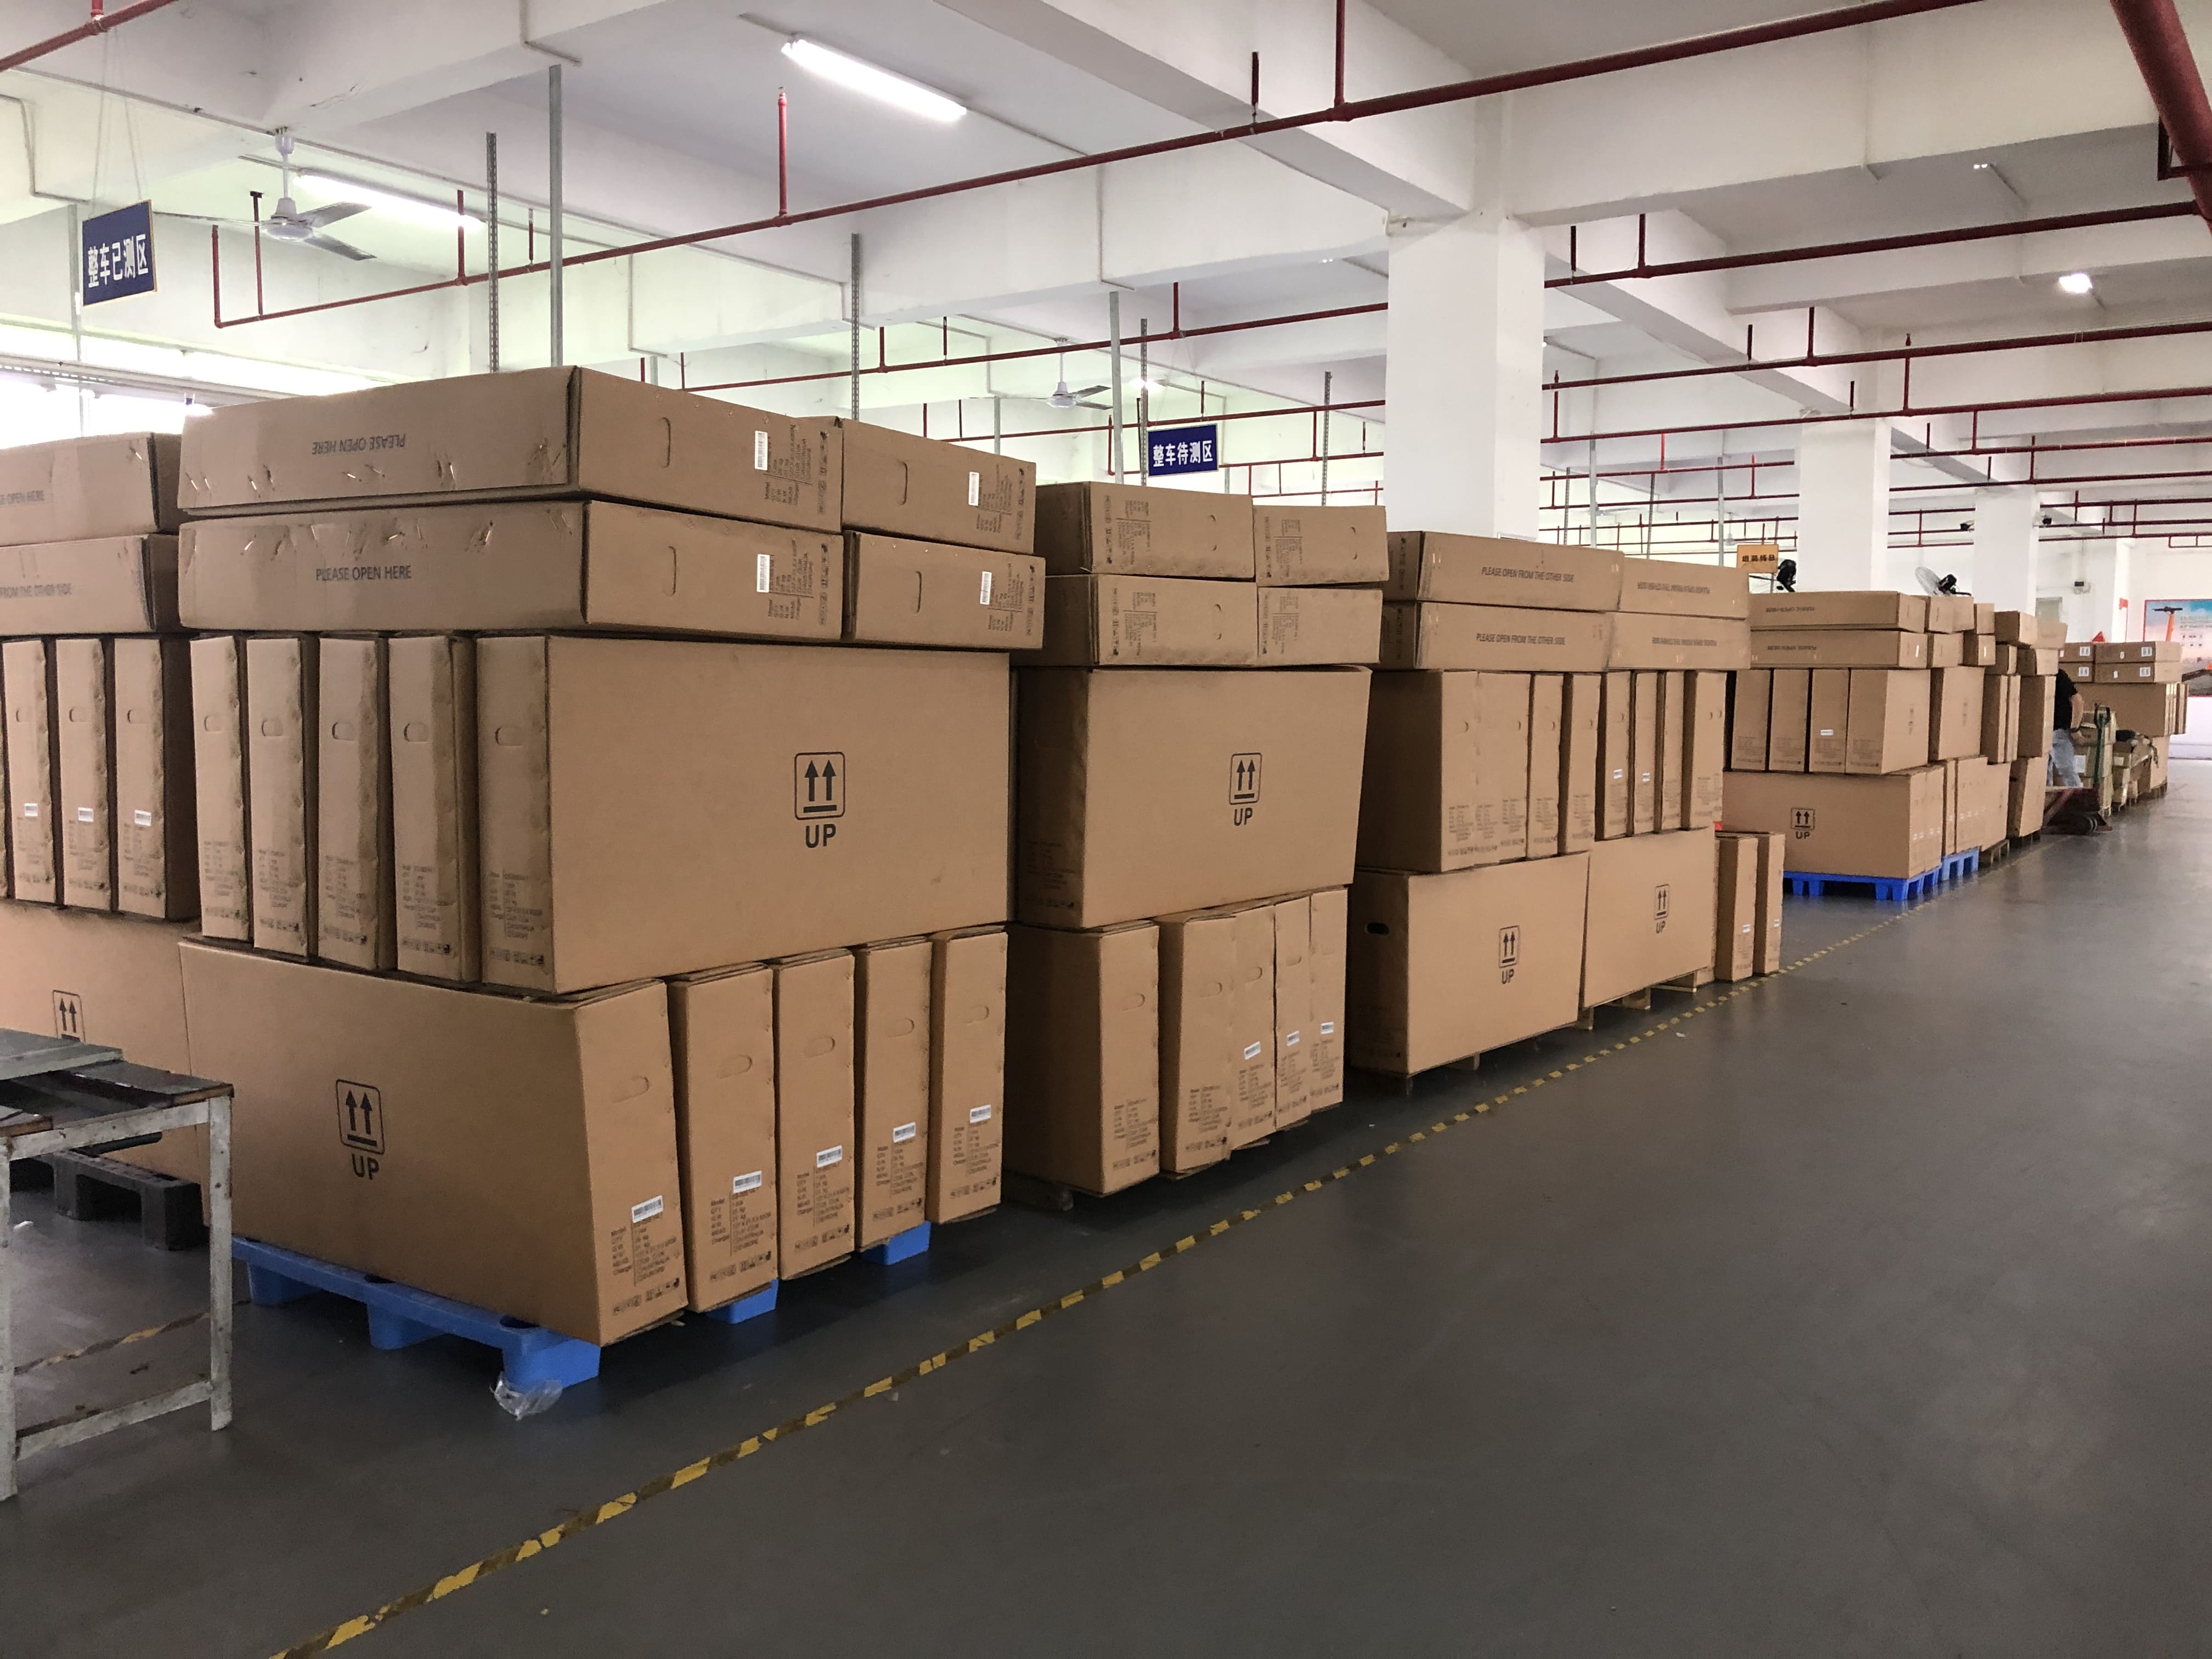
Freego's stated quality-control process also includes a remote battery health monitoring test, IPX6 waterproof testing, frame fatigue testing and a local USA warehouse pre-delivery inspection. For fleet operators that makes two documents worth requesting at intake: the PDI record for the unit, and any battery health data the model can report.
Step 3 — Delivery path: harness, connectors, ignition and water
With the pack confirmed, the next question is whether its energy reaches the controller. The method is a voltage-drop comparison, not a single reading: measure at the pack terminals, then at the controller input under the same conditions. A meaningful difference between the two points locates the loss in the delivery path — a connector, a fuse holder, an ignition switch or a crimp — rather than in the pack or the controller.
- Connectors. Look for partially seated plugs after a battery swap or transport, corroded pins, and green or white residue that indicates water. Re-seat every inline connector in the main power path once and note whether the fault changes.
- Harness damage. Chafing at the steering head, at frame entry points and near the rear dropout is a normal wear location on off-road machines. Flex the harness gently while the unit is powered and observe.
- Ignition and display wake. Some systems require the display to be powered before the main contactor closes. If the display is dark, test the ignition circuit and the display connector before condemning the controller.
- Water. A no-start the morning after a wash or a wet ride points at connectors before electronics. IPX6 testing inside a factory quality process describes a test performed on the product, not a licence to pressure-wash seals and connectors in service.
Step 4 — Command inputs: throttle, brake cut-off, stand sensor and display
Class B faults — display alive, no drive — are dominated by command-input problems, and the brake cut-off is the one technicians most often miss. A brake switch that is stuck closed, misadjusted at the lever or contaminated will cut drive while leaving the display fully lit. Check lever free play, then switch continuity at the lever, on both brakes.
- Throttle. Verify a smooth, progressive signal from rest to full application, with no dead spot and no drop when the harness is flexed. A throttle that passes on the bench and fails on rough ground is a connection or a worn track, not a controller fault.
- Pedal-assist sensors. If throttle works and pedal assist does not, the fault sits in the assist sensor path or its magnet alignment, not in the motor.
- Stand and safety interlocks. Side-stand switches, clutch or gear sensors on mid-drive units and any brake-lock interlock can inhibit drive by design.
- Display and mode. Read the display for indicators before clearing anything, and confirm which ride mode is active on models offering selectable modes. Configuration is not a component failure.
Step 5 — Controller
Condemn the controller last among the electronics, and only after its inputs are proven: correct pack voltage at the input, ignition or wake signal present, throttle signal arriving at the connector, and no brake cut-off holding the enable line. A controller replaced before those four checks is a guess with a part number.
Input side. Confirm voltage at the controller input under load, inspect the connector for heat discolouration, and check that the wake or ignition line changes state when the key or button is operated.
Output side. With the system off and the pack isolated, compare resistance across the motor phase pairs; a balanced set suggests a healthy winding path, while an unbalanced or open pair points at the motor or its cable. Where the system provides a hall-sensor test function or an error indication, use it before removing anything.
Replacement discipline. Do not open a sealed controller, and do not substitute a controller from a different model or voltage class as a test. A replacement must be the correct part for that model, and the original fault must be explained — a controller that fails twice is reporting an upstream short, water ingress or a chafed harness, and the second replacement will fail as well.
Step 6 — Motor and drivetrain
The motor is a rare first cause and an expensive first guess, and the check differs by architecture.
Hub-motor units, which is how Freego's model materials describe the X series, carry the motor in the rear wheel. Inspect the phase and hall cable from the axle to the first connector for cuts, pinch damage at the dropout and water in the plug. With the system off, compare free wheel rotation against a known-good unit of the same model — a geared hub and a direct-drive hub feel different, so the comparison must be like-for-like. Check axle nut condition and any sign that the wheel was removed and refitted with the cable trapped.
Mid-drive units, which is how Freego's model materials describe the Nova series, drive through the bicycle drivetrain. That changes the order of checks: a snapped chain, a derailed chain, a jammed derailleur, a bent chainring or a seized bottom bracket can all present as "the motor does nothing" while the motor is healthy. Confirm the mechanical drive first, then the motor mount, the speed sensor and the motor connector. On mid-drive systems, a motor that runs but slips under load is a drivetrain question before it is an electrical one.
Step 7 — Intermittent mid-ride cutouts
Cutouts need a trigger, not a theory. Categorise each event by what preceded it; the pattern usually eliminates most of the list within two or three reports.
- Thermal. Cuts out after a long climb or a sustained high-load section and recovers after a pause. Suspect controller or motor thermal protection first, and check for mud-packed cooling surfaces and low tyre pressure adding load.
- Voltage sag. Cuts out late in the charge cycle, under acceleration or on gradients, and recovers when load drops. Suspect pack condition, charger performance and charge practice.
- Mechanical. Cuts out over bumps or after a kerb strike. Suspect connector seating, battery latch play and harness chafe — and note whether the display stayed on, because a display that stays lit during the event points away from the main power path.
- Water. Cuts out during or shortly after wet use. Suspect connectors and switchgear before sealed electronics.
- Control. Cuts out with no load pattern at all, often at low speed or on brake application. Suspect the brake cut-off switch and the throttle track.
For fleets, log every event with state of charge, terrain, ambient conditions, duration and restart behaviour. A single unit with a repeatable trigger is a repair. Four units with the same trigger in the same week is a duty-cycle or batch question, and it belongs in a conversation with the supplier rather than in four separate repair tickets.
Fault-isolation matrix
The matrix condenses the sequence into a bench reference. It describes diagnostic logic, not model-specific values, and every measurement must be taken against the label and manual for the unit being serviced.
| Symptom | First check | Confirming evidence | Usual part family | Dealer action |
|---|---|---|---|---|
| Display dark, no response | Pack voltage at discharge terminals | Voltage present at pack, absent at controller input | Fuse, ignition switch, main connector | Repair in-house |
| Display dark, pack reads normal | BMS protection state and pack seating | Trip condition repeats after reset | Pack and BMS | Escalate before opening |
| Display on, no drive | Brake cut-off switches | Switch stuck closed or lever misadjusted | Brake switch, lever assembly | Repair in-house |
| Display on, throttle dead, assist works | Throttle signal | Signal flat or drops when harness is flexed | Throttle, connector | Repair in-house |
| Cuts out under load, recovers | Pack voltage under load versus at rest | Large difference between the two readings | Pack, main connector | Test, then escalate |
| Cuts out after long climb | Thermal condition of controller and motor | Recurs only when hot, recovers when cool | Controller, cooling surfaces | Log and escalate with data |
| Cuts out after wash or rain | Connectors and switchgear | Water or residue in plugs | Harness, switches | Dry, seal, re-test |
| No drive, motor hot or smelling | Stop work, isolate pack | Thermal or odour evidence | Motor or controller | Escalate immediately |
Where this sequence pays off: four workshop situations
These are conditional scenarios that show how the sequence is applied, not reported customer cases.
A rental unit is dead at the morning check. Ten units are going out and one display is dark. Following the sequence, the technician checks pack seating first, because the pack was removed for overnight charging — a partially latched pack explains the symptom in under a minute and costs no parts. If the pack is seated and the unit is still dead, the fuse and ignition path come next, and the unit is swapped out of the rotation rather than held at the dock.
A unit fails the morning after a wash. Water is the recorded trigger, so connectors and switchgear are checked before any electronics. Drying, cleaning and re-sealing a plug is a same-day repair; replacing a controller on the same symptom is a part-cost repair with a likely repeat.
A stored unit will not wake for the season. Storage is the recorded history, so the pack is the entry point: charge state at arrival, charger behaviour and protection state before anything else. A pack held in protection or left deeply discharged is a support question, not a workshop repair, and the value of the sequence is knowing that early.
Three units from one fleet cut out on the same climb. The trigger is identical and thermal, so the fleet operator stops treating it as three repairs. Logged state of charge, ambient conditions and terrain give the supplier a pattern to work with, and the conversation moves from parts to duty cycle and configuration.
Spare parts and turnaround: what a dealer should hold
Downtime is decided by what is on the shelf, not by what is in the catalogue. For no-start and cutout work the high-turnover items are inexpensive and predictable: fuses and fuse holders, brake cut-off switches and lever assemblies, throttles, display units, main harness connectors, chargers, and the mechanical wear items that mimic electrical faults on mid-drive units — chain, chainring, cables and brake pads.
Supply terms matter as much as stock. Freego's published purchase terms list an MOQ of 1 unit for a sample display order and 12 units, one full pallet, for a standard wholesale bulk order, with US local warehouse door-to-door delivery alongside EXW Huizhou and FOB Shenzhen options. Freego also reports an annual production capacity of 20,000 units. For a dealer or fleet buyer those terms describe how a replacement unit or a fleet expansion is ordered; they do not state spare-part SKUs, part prices or parts lead times, which have to be confirmed directly for the specific model.
When to escalate to Freego support
Escalation is a decision with criteria, not a last resort after the parts budget is gone. Send the case to Freego when any of the following applies:
- A sealed pack or controller is implicated, or the pack will not leave protection after the published reset procedure.
- There is a safety event: swelling, abnormal heat at rest, odour, smoke or arcing.
- A correctly specified replacement part has failed a second time, indicating an upstream cause the workshop cannot see.
- The unit is inside its warranty window, or the repair needs a coverage decision.
- The same fault appears across multiple units of one model in a single fleet.
- No published diagnostic path exists for that model, or the downtime cost exceeds the repair cost.
Prepare the case before making contact, because a support engineer can move faster with data than with a description. Include the model and series, pack and controller label details, the intake log, every measured value with the instrument used, photographs of connectors and terminals, and the actions already taken with their results. Freego states US-based technical support as part of its after-sales structure; the direct contact for dealer and fleet service is Ahmed@freegobikes.com or +1 818 275 1590, WhatsApp is available on +1 310 678 1530, and the US address is 3681 Walnut Ave, Chino, CA 91710. The company site is freegobikes.com.
For fleet operators the escalation path is also a lifecycle tool. A cutout that is logged, escalated with data and resolved becomes a service interval and a PDI check for the next batch, which is how a fleet reduces repeat no-start events across a multi-year replacement cycle instead of absorbing them as routine downtime.

Need the current model list, PDI documentation or the company brochure before building a service programme? Contact Freego at Ahmed@freegobikes.com or +1 818 275 1590, or download the Freego company brochure (PDF).
FAQ for dealers and fleet operators
Does opening a battery pack or controller affect warranty coverage?
Freego's published comparison material for the X2 Pro cites a 2-year limited warranty and a 14-day hassle-free return policy, and it does not state that sealed packs or controllers may be opened in the field. Treat any sealed pack or controller as a return-to-support item: confirm coverage in writing for the specific model and purchase channel before breaking a seal, and document the unit's condition and measurements while it is still sealed.
Can a dealer workshop diagnose a no-start without factory diagnostic tools?
Most of the sequence runs on a multimeter and a known-good comparison unit of the same model: pack voltage at rest and under load, voltage drop between pack and controller input, brake cut-off continuity, throttle signal progression and phase-pair balance. The limits are sealed components, model-specific software and error-code interpretation. When a case reaches those limits, the workshop's job is to hand over a documented measurement set rather than to keep substituting parts.
What should a dealer budget for no-start repairs?
Cost depends on fleet size and the failure pattern, and no part prices are published in the material available here. The practical approach is to stock the low-cost, high-turnover items — fuses, brake cut-off switches, throttles, connectors, chargers — and to price sealed assemblies case by case. Freego's published purchase terms cover complete units, with an MOQ of 1 unit for a sample display order and 12 units for a standard wholesale order; spare-part SKUs and pricing need to be confirmed directly with Freego for the specific model.
What should be checked at PDI to reduce no-start claims later?
Freego's stated quality-control process includes a local USA warehouse pre-delivery inspection, alongside IPX6 waterproof testing, frame fatigue testing and a remote battery health monitoring test. A dealer-level PDI should add the checks that no-start claims come from: charge state and charger function on arrival, pack seating and latch engagement, every inline power connector, brake cut-off operation on both levers, throttle response through the full range, and the ride mode or speed setting configured for the market.
How quickly can a replacement unit reach a US fleet?
Freego's published comparison material cites 3–8 business days for US local delivery, against overseas shipping times, and its purchase terms list US local warehouse door-to-door delivery alongside EXW Huizhou and FOB Shenzhen. Availability is model-specific and changes with stock, so confirm the current position for the exact model before committing a fleet rotation date.
How do fleet operators reduce repeat no-start events over several seasons?
Treat the repair record as maintenance input. Log every cutout with its trigger, convert repeat causes into scheduled checks — connector inspection after washing, pack storage state between rentals, brake cut-off function at every service — and keep PDI documentation with each unit so warranty conversations start from evidence. Escalating patterns rather than individual tickets is what turns a supplier relationship into a service programme: one fleet-wide thermal or voltage-sag pattern is worth more to a support engineer than ten separate repair descriptions.
Conclusion
A dirt ebike that will not start is a solvable sequence, and the sequence is the same whether the unit is a hub-motor X series model or a mid-drive Nova series model: classify the symptom, then work energy storage, delivery, command inputs and load in that order. The discipline that saves the most money is negative evidence — proving the pack, the fuse, the brake switch and the throttle before condemning a controller, and proving the inputs before condemning a motor. Anything a dealer cannot test inside those boundaries belongs in a documented escalation to Freego support, with labels, measurements and photographs attached. Build that habit into the workshop and into the fleet service schedule, and no-start becomes a process rather than a crisis.
Have Questions or Need More Details?
Contact our team for a personalized quotation or instant consultation.
Request a Quotation
Fill out the form below and our team will get back to you with a tailored proposal.
WhatsApp Direct Chat
Prefer to chat in real-time? Message us on WhatsApp for instant assistance & quick answers.
- Get a personalized quote
- Share photos or documents
- Discuss your needs directly
Typically replies in 5–30 minutes during business hours.