
Box Bag Production Guide: Non Woven Bag Machine Setup & Seals
Box Bag Production Guide: Non Woven Bag Machine Setup & Seals
Box bag production on a 5-in-1 non woven bag making machine is decided at setup, not at top speed. On the ZXL-E700 and ZXL-E700Ultra from ZX Zhengxin Machinery, box, vest, loop handle, drawstring and D-cut bags run on one platform with online handle attaching at 40–120 pcs/min, staffed by 1–2 operators. Consistent seals come from three settings working together — ultrasonic horn-to-anvil gap, amplitude matched to fabric weight, and line speed matched to both — together with a handle material that sits inside the documented 50–100 g/m² range.
This guide is written for packaging converters and bag factories commissioning box bag work: the sequence to follow, the parameters to set, how to move between five bag styles, how to make printed rolls register, and what to check first when finished box bags split.

The setup problem: box bags expose weaknesses that flat bags hide
A box bag is not a flat bag with extra folds. It carries load through a three-dimensional welded structure and, in most retail programmes, through a welded handle as well. On a 5-in-1 platform the same machine cycle now has to deliver a formed body, welded side and bottom tucks, a punched or die-cut profile, and a handle attached online, all within the same 40–120 pcs/min cycle range as a simple D-cut bag.
The practical consequence is that a machine which produces perfectly acceptable D-cut bags can still fail on box bags. Each added station takes contact time from the cycle, and the load path through the finished bag is longer. If the seal station was left at settings tuned for a thin flat bag, the defect does not appear as a machine fault; it appears as a box bag that opens in the shop.
Setup problems on box bag work cluster into five areas, and this guide follows them in order:
- Style configuration — folding plate width, die position, handle unit position, punching die.
- Material and handle input — fabric weight inside 30–100 g/m², roll width inside 500–1300 mm, handle material inside 50–100 g/m².
- Seal energy — ultrasonic gap, amplitude and the speed each bag is run at.
- Print registration — photocell teaching and mark pitch on printed rolls.
- Utilities — stable air pressure and stable supply voltage.
Industry background: why converters consolidate box bags onto one platform
Reusable polypropylene bags now sit across retail, garment, food takeaway and promotional work, and the same converter is frequently asked for a standing box bag for one account and a cheaper vest or D-cut bag for another in the same week. That mix pushes two variables to the front of production planning: changeover time and seal consistency across styles.
A single 5-in-1 platform answers the first variable. Instead of dedicating a machine to box bags and another to flat bags, one platform covers more than 20 bag types — including vest, drawstring, 3D/box and zipper styles — while a PLC and touchscreen handle recall of the parameters for each style. The second variable is not solved by hardware choice; it is solved by the setup discipline described in the troubleshooting section below.
The machines in this guide are built by Zhejiang Zhengxin Machinery Co., Ltd. (ZX Zhengxin Machinery), a Wenzhou, Zhejiang-based manufacturer of non-woven bag making machines and complete non-woven bag production lines, founded in 2014 and operating a 60,000 m² facility with ISO 9001:2015 certification and CE-marked machinery. Machine configuration data, ranges and operating guidance in this article are taken from the manufacturer's published product and technical material.
The machine envelope: ZXL-E700 and ZXL-E700Ultra
Both models are 5-in-1 platforms for non woven box bags with online handle attaching. They share the same working envelope and the same ultrasonic bonding approach; the difference sits in material yield rather than in bag range.
| Parameter | ZXL-E700 | ZXL-E700Ultra |
|---|---|---|
| Fabric roll width | 500–1300 mm | 500–1300 mm |
| Production speed | 40–120 pcs/min | 40–120 pcs/min |
| Bag height | 200–580 mm | 200–580 mm |
| Bag width | 100–800 mm | 100–800 mm |
| Handle length | 380–600 mm | 380–600 mm |
| Handle material thickness | 50–100 g/m² | 50–100 g/m² |
| Material thickness | 30–100 g/m² | 30–100 g/m² |
| Voltage / total power | 380V/220V · 18 kW | 380V/220V · 18 kW |
| Dimensions | 12000×2050×1900 mm | 12000×2050×1900 mm |
| Weight | 4000 kg | 4000 kg |
| Distinguishing feature | Online handle attaching, ultrasonic sealing | Patented zero-trim technology, stated to save 5% of raw material |
Two consequences follow from that table. First, the widest box bag you can plan is set by the bag width ceiling of 800 mm against a 1300 mm maximum roll, so roll slitting strategy matters before the machine is even switched on. Second, the material window stops at 100 g/m²: heavier board-like non woven is outside this platform's documented range, and pushing it produces weak seals that no amount of amplitude will fix.
The Ultra variant's zero-trim design is a material-yield decision rather than a quality decision. Where fabric is the dominant recurring cost, a stated 5% saving on raw material changes the payback calculation; where box bags are a small share of output, the standard E700 keeps the same bag range and the same ultrasonic sealing principle.
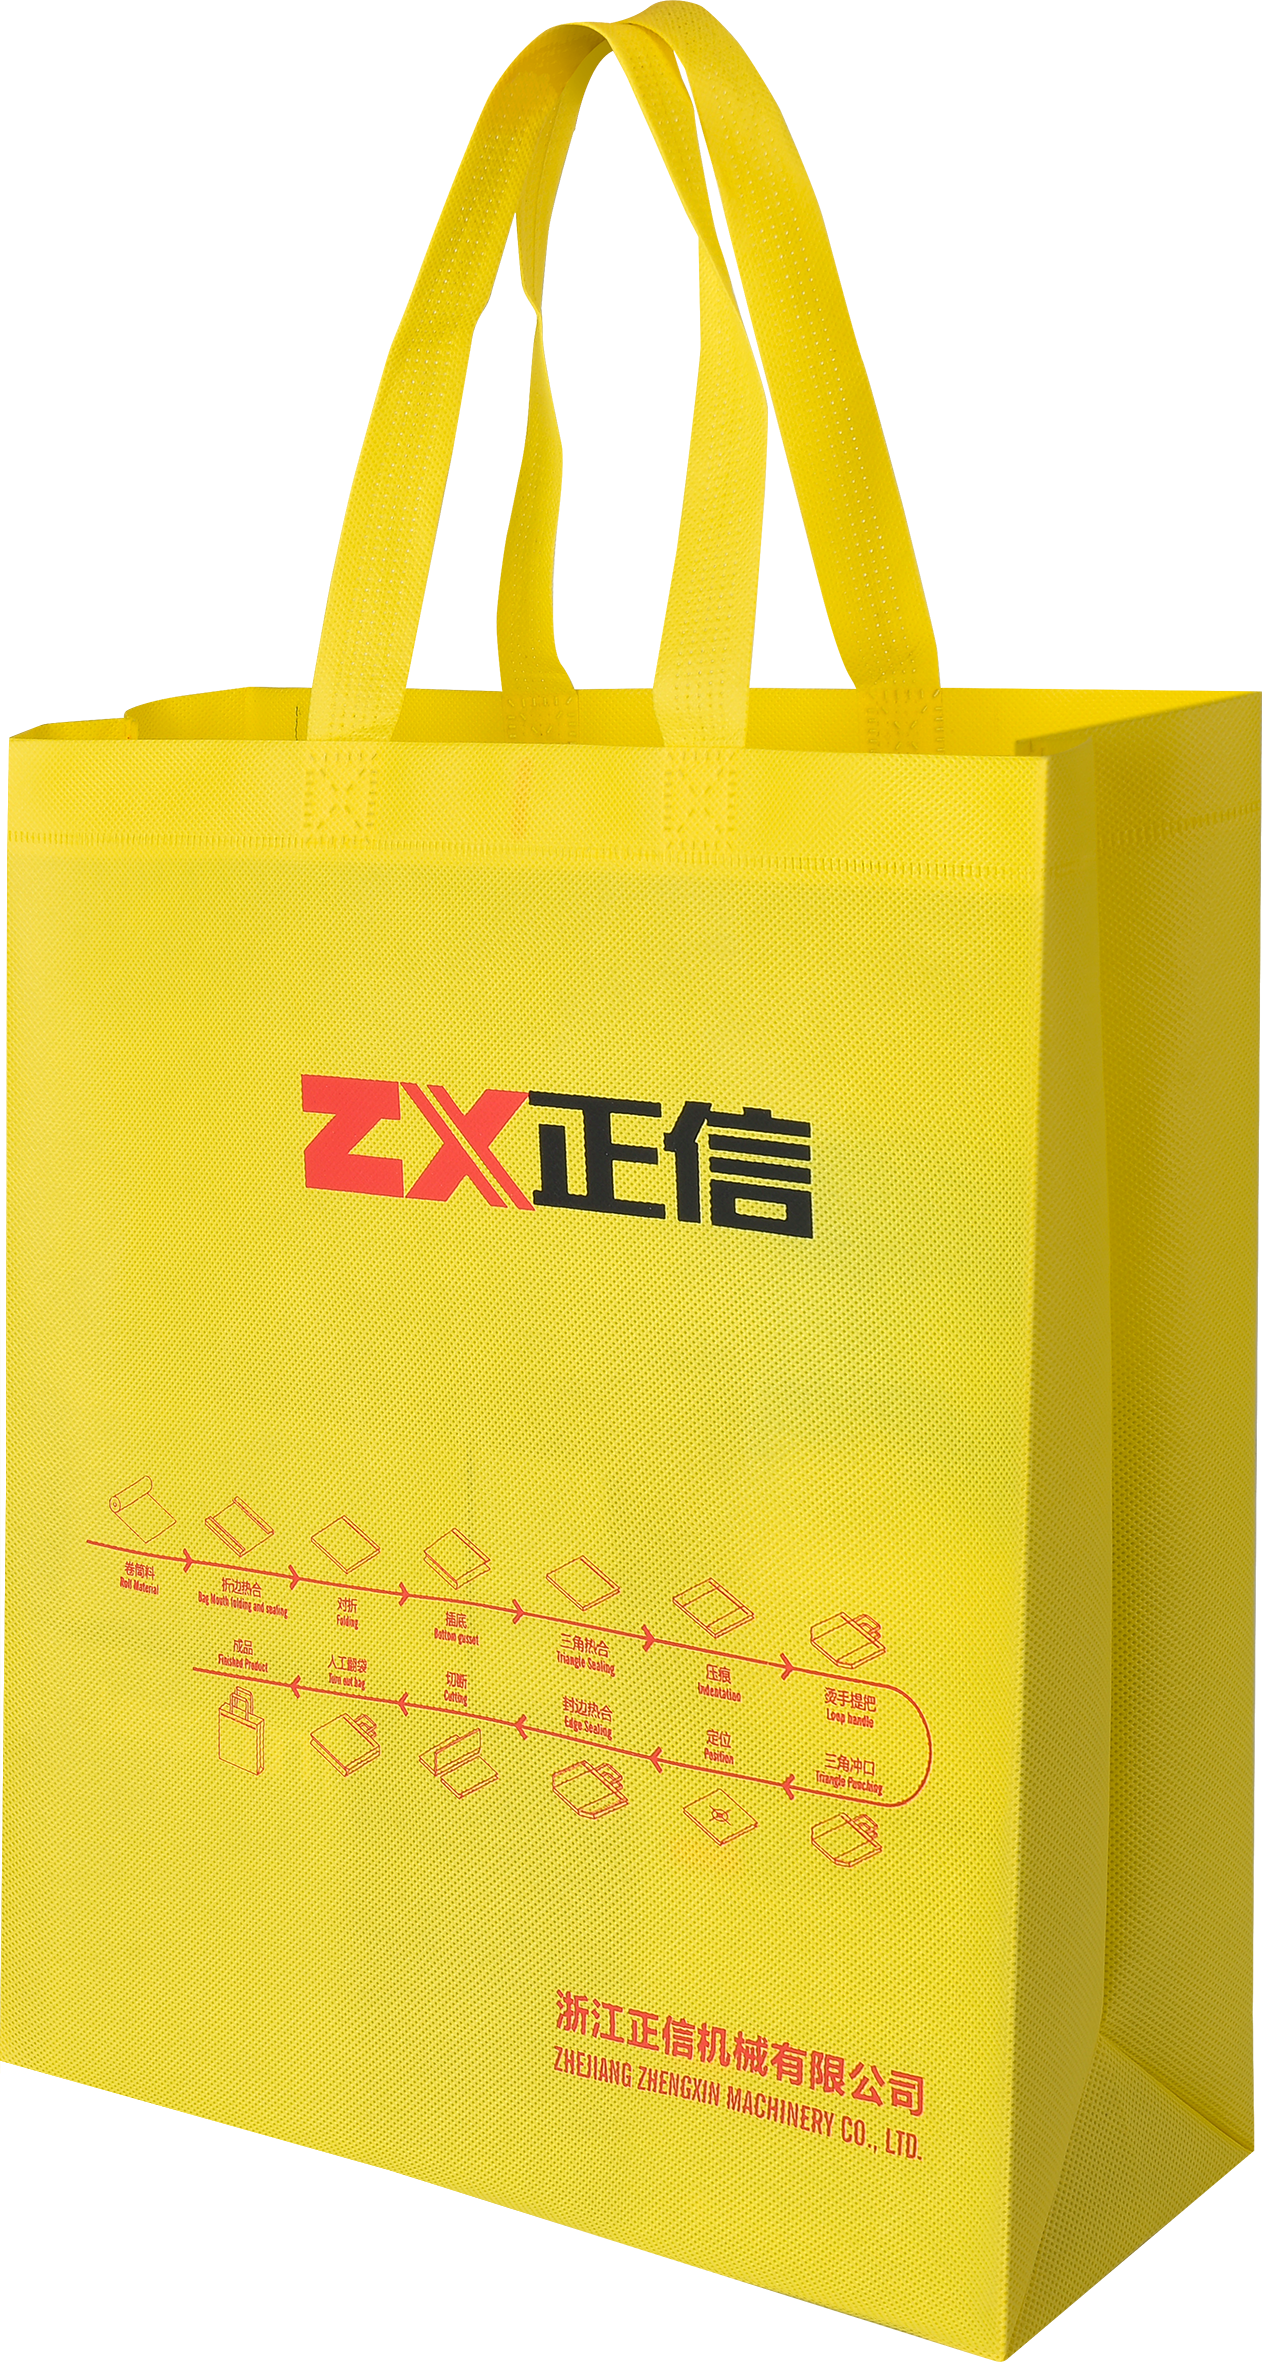
Changing over between box, vest, loop handle, drawstring and D-cut bags
A style changeover on this platform takes about 15–30 minutes and involves four mechanical adjustments plus a parameter recall on the touchscreen. The mechanical side is where changeover time is won or lost; the PLC side is fast once recipes exist.
The four mechanical settings:
- Folding plate width — loosened, slid to the new bag width, checked symmetrical with a ruler, re-tightened.
- Sealing and cutting die position — horn-to-anvil gap and blade position reset for the new dimensions using the supplied gap gauge.
- Handle attachment unit — feeding track and attachment point repositioned to the new bag centreline.
- Punching die — replaced or adjusted where the style uses a different handle hole shape or position, as with D-cut profiles.
On the control side, the operator selects a saved recipe or enters bag width, bag length, gusset depth where applicable, sealing time, cutting position offset and the speed limit for the new size. Each successful changeover should be saved as a named recipe, which is what turns a 30-minute job into a repeatable one.
Two practical notes for box bag work specifically. Because box bags carry a formed structure, the folding and tuck sections rather than the flat folding plates are the parts that must be verified first after a changeover from vest or D-cut work. And because handle length spans 380–600 mm against a bag height of 200–580 mm, the handle feed must be re-referenced whenever bag height changes, not only when the style changes.
Step-by-step: from material loading to the first approved box bag
The commissioning sequence below follows the order Zhengxin documents for installation and startup; it is the same order to use whenever a new box bag size is introduced.
- Verify the inputs before threading. Confirm fabric weight is inside 30–100 g/m², roll width inside 500–1300 mm, handle material inside 50–100 g/m², and that the planned bag falls inside 100–800 mm width and 200–580 mm height. A box bag that misses the envelope will fail at the seal, not at the specification sheet.
- Load and track the roll. Feed through the tension rollers and guide bars following the threading diagram, then set the edge guide so the web tracks straight. Automatic tension and web guiding exist to remove manual adjustment, not to correct a badly loaded roll.
- Recall or create the recipe. Enter bag width, bag length, gusset depth, sealing time, cut offset and speed limit on the touchscreen. Save it under a name the whole shift can recognise.
- Set the ultrasonic baseline for the fabric weight. Start from the amplitude band for that material (see the seal section) and set the horn-to-anvil gap with the supplied gauge.
- Run a dry cycle. At 20–30 pcs/min without fabric, confirm all movements are smooth and no unusual noise appears before any material is consumed.
- Thread, then run slow. Produce the first bags at roughly 30 pcs/min and inspect seal, dimensions and handle position.
- Ramp in steps. Increase to 60, then 80, then production speed, inspecting at each tier. Seal quality that holds at 60 and fails at 110 is a speed–amplitude mismatch, not a machine fault.
- Pull-test and log. Run 20 test bags and pull-test 5: the seal should tear the fabric rather than peel apart. Record the final amplitude, gap, speed and bag dimensions next to the recipe name.
- Position the working area. Box bag work runs with 1–2 operators; the second operator is normally placed at the discharge end for inspection and stacking rather than at the control panel.
Photoelectric print registration on printed box bag rolls
Registration on a printed box bag roll is solved by teaching the photocell, not by adjusting the knife. A registration mark — typically a black square of 5×5 mm or 8×8 mm — is printed at a fixed distance from the bag edge. A photocell reads the contrast change as the mark passes, and the PLC converts that trigger into a cut command using the known mark-to-cut distance and the current fabric speed.
The teaching sequence that works:
- Clean the photocell lens and reflector with a dry cloth — dust causes both missed and false readings.
- Thread the fabric so the mark passes directly under the beam.
- Enter the registration mark pitch on the HMI; it normally equals the bag length, for example 450 mm.
- Switch to Registration Teach mode and run at 10–15 pcs/min so the sensor learns the mark contrast and position.
- Return to auto mode, run 20 bags at 30 pcs/min, and check that the print is centred with equal margins and no cut-through.
- Save the result as a recipe.
Speed has a direct effect on registration margin. At 120 pcs/min the fabric is moving at roughly 600–900 mm per second, leaving the sensor, PLC and cutting actuator a total budget of about 15–25 milliseconds to detect and act. That is why small or faded marks fail at high speed, and why registration drift during a shift normally traces back to fabric tension variation, a loose sensor bracket, or a mark whose print quality has changed mid-roll.

Weak or inconsistent box bag seals: a diagnostic order that resolves most cases
Three root causes cover roughly 90% of weak or inconsistent seal cases, and they should be checked in this order: horn contamination, horn-to-anvil gap, then amplitude and speed mismatch. Air pressure, horn wear and fabric batch variation account for most of the remainder.
Start by defining which seal is failing. A box bag has two independent welds — the body seal that forms the 3D structure, and the handle weld. A bag whose handle pulls off but whose body holds has a handle-station problem, not a body-seal problem; a bag that opens along the body seam has a body-seal problem even if the handle is perfect. Treating both as one fault is the most common reason a converter changes three settings and fixes nothing.
Step 1 — clean the horn and anvil
Melted fabric residue on the horn surface reduces energy transfer to the interface. Stop the machine, disable the ultrasonic generator, and wipe the horn tip and anvil with isopropyl alcohol and a lint-free cloth. Inspect under bright light and repeat until both surfaces are clean. Contamination is the single most frequent cause of a seal that peels rather than tears.
Step 2 — verify the horn-to-anvil gap
For 70 g/m² fabric the gap should be 0.3–0.5 mm and even within 0.05 mm across the full horn width. Measure at both ends and at the centre with a feeler gauge. An uneven gap — for example 0.3 mm on one side and 0.5 mm on the other — produces exactly the symptom converters describe as intermittent: strong on one side of the bag, weak on the other.
Step 3 — match amplitude to fabric weight
Amplitude carries the welding energy. Starting bands for this machine family are shown below; adjust in 5% steps and pull-test after each change.
| Fabric weight | Starting amplitude | What to watch |
|---|---|---|
| 50–60 g/m² | 60–70% | Over-welding first: brown discolouration or a distorted weld line means amplitude is too high. |
| 70–90 g/m² | 75–85% | Incomplete fusion (fibres not fully bonded) means amplitude is too low. |
| Above 90 g/m², up to the 100 g/m² platform limit | Test-verify | Run 20 test bags per change, pull-test 5, and confirm before production speed is restored. |
Step 4 — reconcile speed with amplitude
Welding contact time per bag is short. If production speed was increased without touching the ultrasonic settings, the seal weakens because less energy reaches the interface. Reduce speed by 10–15% and test; if the seal recovers, the faster speed needs higher amplitude compensation rather than a return to the old speed.
Step 5 — check air pressure and horn condition
The pneumatic cylinder applying horn pressure needs stable air. Verify the compressor gauge holds 0.6–0.8 MPa through the welding cycle; pressure that dips during the pulse produces seals that vary from bag to bag. If all settings are correct and seals still degrade gradually, inspect the horn surface at an angle under bright light: a new horn is mirror-flat, while a worn horn shows pitting or a wavy wear pattern and should be replaced rather than compensated for with amplitude.
Step 6 — test a different fabric batch
If the machine is correctly set and the fabric is the remaining variable, run a roll from a different batch. Inconsistent or contaminated PP spunbond will not weld correctly at any setting, and commercial fabric weight tolerance of around ±5% is enough to shift the correct amplitude band.
| Symptom on finished box bag | First check | Correction |
|---|---|---|
| Seal peels evenly along the whole weld | Horn and anvil cleanliness | Clean with isopropyl alcohol and a lint-free cloth, then re-test 20 bags |
| Strong on one end, weak on the other | Gap parallelism | Reset to 0.3–0.5 mm, even within 0.05 mm across the horn |
| Weak after a fabric weight change | Amplitude band | Adjust in 5% steps, 20-bag test after each step |
| Weak after a speed increase | Contact time | Reduce speed 10–15%, or raise amplitude to compensate |
| Strength varies through the shift | Air pressure stability | Hold 0.6–0.8 MPa through the welding pulse |
| Gradual decline over months | Horn wear | Inspect for pitting; replace the horn |
| Handle separates, body seal intact | Handle station and handle material | Confirm handle material sits within 50–100 g/m² and re-check the handle weld |

Where this setup fits: project profiles
The same platform serves several project types, and the setup emphasis shifts with each:
- Supermarket and grocery chains. High volume, printed logos, tight delivery schedules; the pressure is on seal consistency at sustained speed and on registration accuracy rather than on style variety.
- Garment and fashion retail. Logo-printed bags, dust covers and suit covers, typically on 16-hour double-shift operation with 1–2 operators per machine, where surface finish and wrinkle-free output carry more weight than raw speed.
- Food takeaway and bakery. Odour-free sealing matters, which is one reason ultrasonic bonding is used rather than an adhesive process; batch handling and clean stacking follow the same setup logic.
- Promotional and corporate gift work. Short runs, frequent changeovers and multi-colour print; here the 15–30 minute changeover and recipe recall decide whether small batches stay profitable.
Documented deployments illustrate the same pattern at different scales. A packaging manufacturer in Egypt has run a ZXL-E700 among five Zhengxin units since 2017, supporting three product lines from one supplier. A manufacturing group in Indonesia operates 42 Zhengxin units in total, including 13 ZXL-E700 machines, across shopping bags, printed promotional bags, food-grade takeaway packaging and garment covers. As a planning illustration only, a single machine at 100 pcs/min running an eight-hour shift at rated speed calculates to 48,000 bags; real output is lower once roll changes, changeovers and inspection are counted, so planning should never be done at rated capacity.
Utilities and supporting equipment that affect seal consistency
Power and air are part of the seal setup, not facilities housekeeping. Both models are specified at 380V/220V with 18 kW total power, and voltage configuration for other supply standards is available as a machine option. In locations with unstable grid power, a voltage stabiliser protects the PLC and drive electronics — a spike that destroys control hardware ends the commissioning week early.
Compressed air matters more directly. The ultrasonic station depends on consistent cylinder pressure, so an industrial screw compressor with air dryer and tank is the right specification; moisture in compressed air damages pneumatic components and causes pressure variation that shows up as seal variation. In-house fabric slitting, where roll width must be reduced to match bag width within the 500–1300 mm range, is a separate decision that affects material cost rather than seal quality.

Frequently asked questions
Does a 5-in-1 machine such as the ZXL-E700 fit an export project that requires CE and ISO documentation?
Yes. Zhengxin machines are CE marked against the Machinery, Low Voltage and EMC Directives, and the manufacturing facility holds ISO 9001:2015 certification. Machines are specified at 380V/220V with 18 kW total power, and voltage and frequency configuration for other supply standards is available as an option. Third-party pre-shipment inspection by SGS, Bureau Veritas or CCIC can be arranged on request, which is the usual way an importer closes the documentation loop before the balance payment.
Can one machine really produce box, vest, loop handle, drawstring and D-cut bags?
The ZXL-E700 and ZXL-E700Ultra are 5-in-1 platforms that cover more than 20 bag types, including box/3D, vest, loop handle, drawstring, D-cut and zipper styles, with online handle attaching. Style changes are handled by adjusting folding plates, sealing and cutting die position, handle unit position and punching die, then recalling or entering the matching parameter set on the PLC touchscreen. A practised operator completes that changeover in roughly 15–30 minutes, and saving each result as a named recipe shortens subsequent runs.
What material and handle thickness range does the platform accept?
The documented working envelope is 30–100 g/m² fabric, 50–100 g/m² handle material, handle length 380–600 mm, fabric roll width 500–1300 mm, bag width 100–800 mm and bag height 200–580 mm. Material outside the top of that range is the most common reason a seal cannot be made to hold: the ultrasonic station is being asked for energy beyond the platform's design window, and no amplitude adjustment resolves it.
Why are my box bag seals weak or inconsistent, and how do I fix them?
Check three causes in order, because together they account for roughly nine out of ten cases. First, clean the ultrasonic horn and anvil with isopropyl alcohol and a lint-free cloth — melted fabric residue blocks energy transfer. Second, measure the horn-to-anvil gap at both ends and the centre with a feeler gauge; for 70 g/m² fabric it should be 0.3–0.5 mm and even within 0.05 mm, since an uneven gap produces a seal that is strong on one side and weak on the other. Third, match amplitude to fabric weight and reconcile it with line speed: a speed increase shortens weld contact time and requires amplitude compensation, or a 10–15% speed reduction. After every adjustment, run 20 test bags and pull-test 5 — the seal should tear the fabric, not peel apart. If the seal still degrades over weeks, inspect the horn for surface pitting and replace it.
Where does the ZXL-E700Ultra justify its difference over the standard ZXL-E700?
On material yield, not on bag range. Both models share the same fabric, bag and handle envelope, the same 40–120 pcs/min speed range and the same ultrasonic sealing approach. The Ultra adds patented zero-trim technology stated to save 5% of raw material, so the decision turns on fabric consumption: at high daily fabric throughput the saving compounds quickly, while at low box bag volumes the standard E700 keeps identical capability. Cost comparisons should also include operator count — both platforms run with 1–2 operators — and the air and power provisions described above.
How do we validate seal quality before committing to a full production run?
Validate on bags, in a defined sequence. Set the ultrasonic baseline for the actual fabric weight, set the gap with the gauge, run 20 test bags at the target speed and pull-test 5 of them; a correct weld tears the fabric instead of peeling at the weld line. Repeat the test after any speed tier increase, after any fabric batch change, and after any style changeover, and record the final amplitude, gap, speed and dimensions against the recipe name. Buyers ordering for a new project normally request sample bags made on the specified fabric, and Zhengxin maintains a sample room for that purpose; the machine brochure linked at the end of this article summarises the model range for that evaluation stage.
What is the delivery and installation timeline for a box bag project?
Quoted production lead time is typically 30–45 days, with sea freight added according to destination. Installation of a single machine normally takes one to two working days and is frequently completed by the buyer's own team with remote video guidance: Zhengxin engineers support setup over WhatsApp and video call seven days a week and report resolving the majority of issues remotely. On-site engineer dispatch is available where remote support is insufficient, charged at a daily service fee plus travel and accommodation. Preparing a level floor, verified three-phase power, a working compressor with dryer and 1–2 operators available for training removes most of the delay risk.
Conclusion: setup discipline is the seal specification
Box bag production on a 5-in-1 platform rewards a fixed sequence. Confirm the inputs sit inside the documented envelope — 30–100 g/m² fabric, 50–100 g/m² handle material, 500–1300 mm roll width, 100–800 mm bag width and 200–580 mm bag height. Teach the photocell on printed rolls at low speed before running production speed. Set the ultrasonic gap with a gauge and choose amplitude from the fabric weight band, then ramp speed in steps and pull-test at each tier. Save every result as a recipe, because repeatability across five bag styles is what makes a multi-style platform pay.
When a box bag does split, resist the urge to change several settings at once. Separate the body seal from the handle weld, then work through horn cleanliness, gap parallelism, amplitude against fabric weight, speed against contact time, air pressure stability and horn wear. In most cases the answer is found in the first two checks.
ZX Zhengxin Machinery builds the ZXL-E700 and ZXL-E700Ultra alongside a wider range of non woven bag making, printing and slitting equipment; the company website is Zhejiang Zhengxin Machinery Co., Ltd.. For project planning, the full machine and specification brochure is available here: download the Zhengxin product brochure (PDF). If you are evaluating box bag production for a specific bag size, fabric weight and handle type, send those three details with your target daily output and ask for sample bags made on the matching configuration.

Have Questions or Need More Details?
Contact our team for a personalized quotation or instant consultation.
Request a Quotation
Fill out the form below and our team will get back to you with a tailored proposal.
WhatsApp Direct Chat
Prefer to chat in real-time? Message us on WhatsApp for instant assistance & quick answers.
- Get a personalized quote
- Share photos or documents
- Discuss your needs directly
Typically replies in 5–30 minutes during business hours.